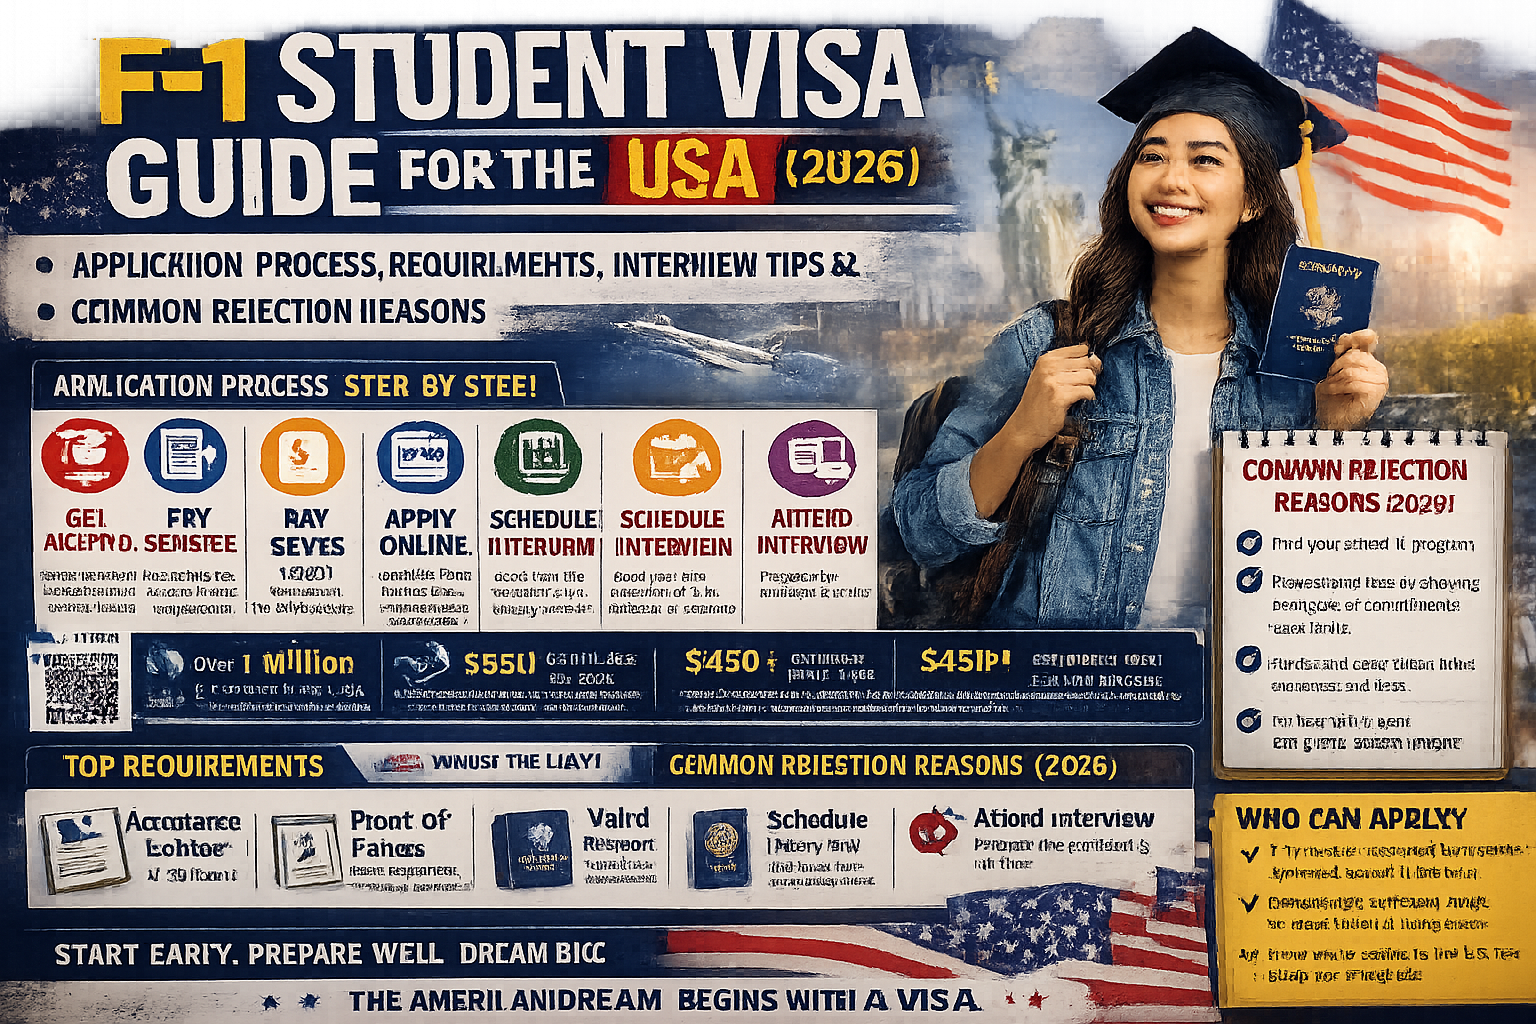
Getting accepted into a U.S. university is a major milestone — but for international students, the journey isn’t complete until you successfully obtain an F-1 student visa. The visa application process can feel overwhelming, especially with strict documentation requirements, in-person interviews, and the constant fear of rejection. Understanding exactly how the process works can make the difference between a smooth approval and a stressful, drawn-out ordeal.
This complete 2026 guide walks you through the entire F-1 visa process — from required documents to interview preparation, financial requirements, and the most common reasons applications get denied.
What Is an F-1 Student Visa?
The F-1 visa is the most common nonimmigrant visa category for international students pursuing full-time academic study at an accredited U.S. college, university, or language training program. It allows students to remain in the U.S. for the duration of their academic program, plus a limited grace period afterward, and includes provisions for limited on-campus and off-campus employment under specific conditions.
The F-1 visa is different from the J-1 visa (used for exchange visitor programs) and the M-1 visa (used for vocational or non-academic training programs), so it’s important to confirm which visa category applies to your specific program before starting the application process.
Step-by-Step F-1 Visa Application Process
Step 1: Get Accepted and Receive Your I-20 Form
Before applying for an F-1 visa, you must first be accepted into a Student and Exchange Visitor Program (SEVP)-approved U.S. institution. Once accepted, the school’s international student office will issue you a Form I-20, which is required to begin the visa application process.
Step 2: Pay the SEVIS I-901 Fee
Before scheduling your visa interview, you must pay the SEVIS I-901 fee, which funds the Student and Exchange Visitor Information System used to track international students throughout their studies. Keep the payment confirmation receipt, as you’ll need to bring it to your interview.
Step 3: Complete the DS-160 Online Visa Application
The DS-160 form is the standard nonimmigrant visa application used for all U.S. visa categories, including F-1. It requires detailed personal information, travel plans, education history, and security-related background questions. After submission, you’ll receive a confirmation page with a barcode, which is required for your interview appointment.
Step 4: Pay the Visa Application Fee
A separate, non-refundable visa application fee (commonly referred to as the MRV fee) must be paid before scheduling your interview. Fee amounts are set in USD but payable in local currency depending on the country.
Step 5: Schedule Your Visa Interview
Appointments are scheduled through your local U.S. embassy or consulate. Wait times for interview slots can vary significantly by country and season, so it’s strongly recommended to schedule as early as possible, ideally as soon as your I-20 is issued.
Step 6: Gather Required Documents
Prepare all required documentation well in advance of your interview date (see full checklist below).
Step 7: Attend Your Visa Interview
During the interview, a consular officer will review your documents and ask questions about your academic plans, financial situation, and ties to your home country to determine visa eligibility.
Step 8: Visa Processing and Passport Return
If approved, your passport with the visa stamp will be returned to you, typically within a few business days, though processing times vary by consulate and may be subject to additional administrative review in some cases.
Required Documents Checklist
Before your F-1 visa interview, make sure you have the following documents organized and ready:
- Valid passport, with validity extending at least six months beyond your intended stay
- Form I-20, signed by both you and your designated school official
- DS-160 confirmation page
- SEVIS I-901 fee payment receipt
- Visa application fee payment receipt
- Passport-sized photo meeting U.S. visa photo requirements
- Academic documents, including transcripts, diplomas, and standardized test scores (SAT, TOEFL, IELTS, GRE, GMAT, etc.)
- Proof of financial support, such as bank statements, scholarship award letters, or sponsor affidavits
- Ties to home country evidence, such as property documents, family ties, or job offer letters, to demonstrate intent to return after your studies
Requirements can vary slightly by consulate, so always check your specific embassy’s official website for any additional documentation requests.
Financial Requirements for F-1 Visa Approval
One of the most heavily scrutinized aspects of the F-1 visa process is proof of sufficient financial resources to cover tuition and living expenses for at least the first year of study, along with reasonable evidence of continued funding for subsequent years. Acceptable financial proof typically includes:
- Personal or family bank statements showing sufficient liquid funds
- Scholarship or financial aid award letters from the university
- Sponsor affidavits of support, often accompanied by the sponsor’s own financial documentation
- Education loan approval letters from recognized financial institutions
Consular officers pay close attention to whether the source of funds is clearly documented and reasonably sustainable, so sudden large deposits shortly before the interview can sometimes raise additional questions.
F-1 Visa Interview: What to Expect
The visa interview is typically brief, often lasting just a few minutes, but it plays a critical role in the approval decision. Common interview questions include:
- Why did you choose this particular university and program?
- How will this degree benefit your career in your home country?
- Who is funding your education, and how?
- What are your plans after completing your studies?
- Do you have family or ties in the United States?
Tips for a Successful Interview
- Be concise and confident — answers should be clear and to the point, not rehearsed or overly long
- Know your program details — be able to explain why you chose your specific university and field of study
- Demonstrate strong home-country ties — family, property, job prospects, or business plans can help establish intent to return after graduation
- Dress professionally, as first impressions matter in a brief interview setting
- Bring organized documents, but only present what’s specifically requested by the officer
- Stay calm under pressure, even if asked unexpected or rapid-fire questions
Common Reasons F-1 Visa Applications Get Denied
Understanding common rejection reasons can help you avoid critical mistakes:
1. Insufficient Ties to Home Country
Consular officers must be convinced that you intend to return home after completing your studies. Weak evidence of future plans, family ties, or career prospects in your home country is one of the most common reasons for denial under immigration law’s presumption of immigrant intent.
2. Inadequate Financial Documentation
Vague, insufficient, or inconsistent financial evidence often leads to denial, especially if the source of funds isn’t clearly explained.
3. Poor Interview Performance
Overly rehearsed answers, inconsistent responses, or inability to clearly explain academic and career goals can raise red flags during the brief interview window.
4. Mismatched Academic or Career Goals
If your stated study plans don’t logically align with your previous education or career trajectory, officers may question the genuineness of your academic intent.
5. Incomplete or Inconsistent Documentation
Missing documents, or inconsistencies between your DS-160 form, I-20, and interview answers, can result in delays or denial.
After Visa Approval: What’s Next?
Once your F-1 visa is approved, keep the following in mind before traveling:
- You cannot enter the U.S. more than 30 days before your program start date listed on your I-20
- Carry physical copies of your I-20, financial documents, and admission letter in your carry-on luggage for entry inspection
- Register with your school’s international student office promptly upon arrival to complete SEVIS check-in requirements
- Understand F-1 work restrictions, including on-campus employment limits and eligibility rules for Curricular Practical Training (CPT) and Optional Practical Training (OPT) after your studies
Final Thoughts
The F-1 visa process can feel intimidating, but with early preparation, organized documentation, and a clear, confident interview approach, most well-prepared applicants successfully secure their visa. Understanding exactly what consular officers are evaluating — genuine academic intent, sufficient financial support, and strong ties to your home country — allows you to prepare a compelling, honest case for your U.S. study plans.
By starting the process early, staying organized, and practicing clear, confident interview responses, you’ll be well-positioned to turn your U.S. education acceptance into a successful visa approval and the start of an exciting academic journey in 2026.
Already accepted into a U.S. university? Check out our guide on Best Universities in the USA for International Students and our scholarship guide to help fund your studies.